Table of contents
- Understanding the Freezing and Processing Process
- Common Reasons for Powdery Ice Cream
- How to Fix Powdery Ice Cream in Your Ninja Creami
- Other Tips and Tricks to Avoid Powdery Ice Cream
- Conclusion: Perfecting Your Ninja Creami Experience
- FAQ: Common Questions About Ninja Creami Powdery Ice Cream
- Bonus: Delicious Ninja Creami Recipes to Try
Have you ever been eager to indulge in a homemade ice cream treat using your Ninja Creami, only to find that the texture is disappointingly powdery? This issue can be frustrating, especially when you’ve spent time crafting the perfect ice cream base. If you’ve found yourself wondering why your Ninja Creami ice cream turns out powdery, you’re not alone. Many users face this issue, but the good news is that it’s something you can fix with a few adjustments.
In this comprehensive guide, we will walk you through the most common causes of powdery Ninja Creami ice cream and provide step-by-step solutions to ensure your next batch is smooth, creamy, and delicious. By the end of this article, you’ll have all the knowledge you need to troubleshoot and fix any issues with your Ninja Creami, ensuring every batch is a success.
Understanding the Freezing and Processing Process
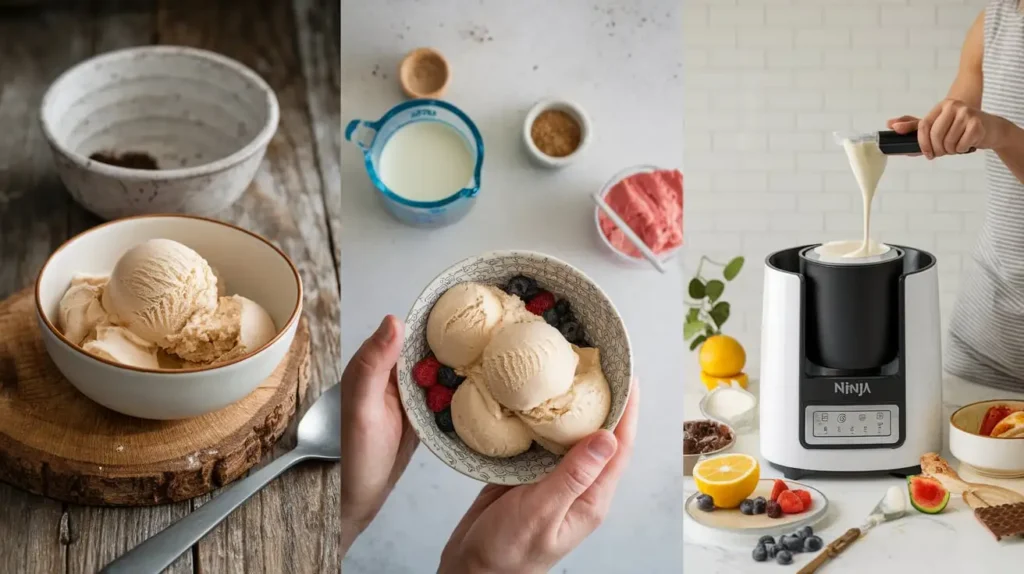
Before we dive into the common causes of powdery Ninja Creami ice cream, let’s take a moment to understand how the machine works and why texture plays such a crucial role. The Ninja Creami uses a unique processing system that churns frozen ingredients to create a creamy, ice cream-like texture. If the base isn’t frozen properly or contains an incorrect balance of ingredients, it can result in a grainy or powdery consistency.
How the Ninja Creami Works
The Ninja Creami machine has a powerful blade that scrapes through the frozen ice cream mixture, turning it into a smooth, creamy dessert. The freezing process is essential to the outcome, as it ensures the ice cream sets correctly. However, if the mixture is too watery or not frozen evenly, the machine won’t be able to break down the ice crystals properly, resulting in a powdery texture.
Why Freezing Is Important
Freezing the mixture at the right temperature and for the right amount of time is key to ensuring a smooth texture. If your ice cream base hasn’t been frozen solid, the Ninja Creami blades may struggle to break it down into a creamy consistency, leading to a powdery result. It’s important to note that freezing time plays a critical role in ensuring the texture is perfect, so don’t rush this step.
Common Reasons for Powdery Ice Cream
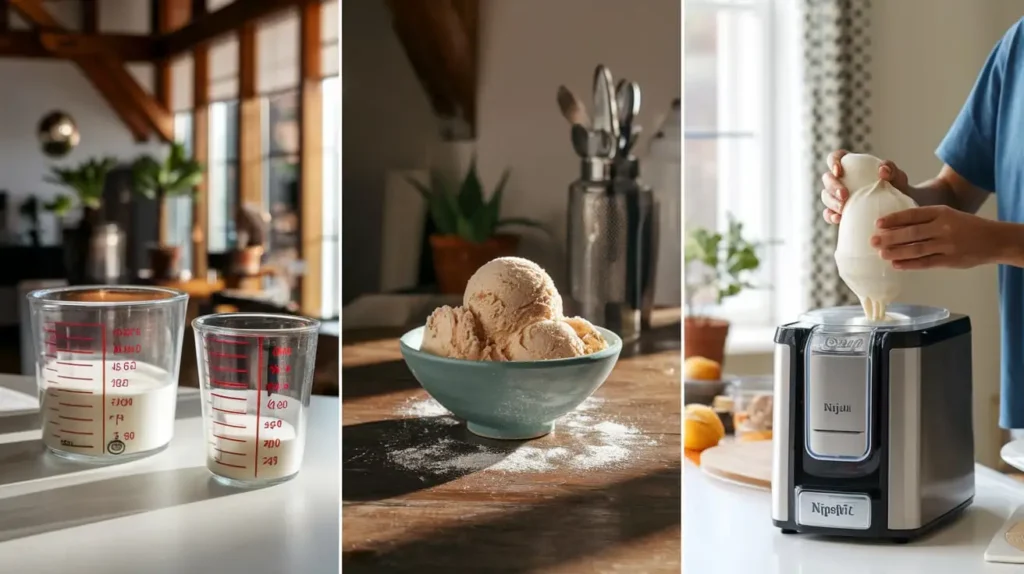
Now that you have an understanding of how the Ninja Creami works, let’s explore the most common causes of powdery ice cream and how to fix them.
1. Improper Freezing
One of the most common reasons your Ninja Creami ice cream turns out powdery is improper freezing. The mixture needs to be frozen for at least 24 hours before you process it in the machine. Freezing it for less time or at an incorrect temperature can lead to inconsistent freezing and larger ice crystals, which will result in a gritty or powdery texture.
What to Do:
- Ensure that the ice cream base is fully frozen before processing it in the Ninja Creami.
- Double-check your freezer temperature—ideally, it should be between -0.4°F to -20°F.
- Avoid freezing the base for less than 12 hours to allow the mixture to set properly.
2. Incorrect Ingredient Ratios
Another common cause of powdery ice cream is the incorrect ratio of ingredients, particularly the balance of liquids and fats. If the mixture contains too much liquid or not enough fats (like heavy cream), the ice crystals won’t break down as effectively, leading to a powdery consistency.
What to Do:
- Stick to the recommended ingredient ratios. Generally, the more fat and sugar in the mixture, the smoother the ice cream will be.
- Avoid using too much milk or water, as this can make the ice cream too icy.
- Use full-fat cream or milk, as lower-fat options may result in a less creamy texture.
How to Fix Powdery Ice Cream in Your Ninja Creami
Now that you understand the common causes of powdery ice cream, let’s discuss how to fix these issues. Fortunately, most problems can be solved with a few simple adjustments. Here’s how to ensure your next batch comes out smooth and creamy.
1. Ensure Proper Freezing Time & Temperature
One of the first things you should check is the freezing time and temperature. As mentioned earlier, it’s essential that the ice cream base is frozen solid before processing. If the base is still too soft or slushy, it won’t achieve the desired creamy texture.
Tips:
- Freeze your ice cream base for at least 24 hours.
- Make sure your freezer temperature is between -0.4°F to -20°F for optimal freezing.
- If you’re in a hurry, try freezing the base overnight, but avoid processing it until it’s completely solid.
2. Adjust the Ingredient Ratios
Sometimes, the issue lies in the ingredient ratios. If your base contains too much liquid or too little fat, you may end up with icy, powdery ice cream. Increasing the fat content or using stabilizers can help improve the texture.
What You Can Do:
- Increase the amount of cream in your base. Full-fat cream helps prevent ice crystals from forming, creating a smoother texture.
- If you’re using milk, choose whole milk rather than skim or low-fat options for a richer texture.
- Consider adding cornstarch or gelatin to your base to help bind the ingredients and prevent ice crystals from forming.
Other Tips and Tricks to Avoid Powdery Ice Cream
Even after adjusting freezing times and ingredient ratios, there are a few additional tricks that can help you avoid powdery ice cream in your Ninja Creami. These tips will take your homemade ice cream to the next level and ensure you get consistently creamy results.
1. Stir Your Ice Cream After Processing
If you notice that your ice cream is still a bit powdery after processing, try stirring it gently. Stirring can help break up any remaining ice crystals and smooth out the texture.
How to Do It:
- After processing the ice cream in your Ninja Creami, open the lid and stir the mixture gently with a spoon.
- Stirring helps release any trapped air and allows the mixture to settle into a smoother texture.
2. Use Different Settings on the Ninja Creami
The Ninja Creami offers various settings for different ice cream textures, such as “Sorbet,” “Gelato,” and “Ice Cream.” Using the correct setting for your specific base can make a big difference in the final texture.
Tip:
- If you’re using a higher-fat base, select the “Ice Cream” setting for the creamiest result.
- For fruit-based or lower-fat mixtures, try the “Sorbet” setting to achieve a smoother texture.
3. Try Pre-Chilling Your Base
Another effective trick is to pre-chill your ice cream base before processing it in the Ninja Creami. By chilling the base for a few hours, you can reduce the amount of time it takes for the mixture to freeze, resulting in a smoother texture.
What to Do:
- After preparing your ice cream mixture, chill it in the fridge for 1-2 hours before placing it in the freezer.
- This step helps the mixture start freezing earlier, ensuring a smoother, creamier result.
Conclusion: Perfecting Your Ninja Creami Experience
Now that you know the most common causes of powdery ice cream and how to fix them, it’s time to get back to making delicious, creamy desserts with your Ninja Creami. Whether it’s adjusting freezing times, modifying ingredient ratios, or using the right settings, these simple steps will help you create perfect ice cream every time.
If you’re still having trouble, don’t hesitate to experiment with different ingredients or settings until you find the perfect combination. With a little patience and practice, you’ll be able to enjoy smooth, creamy, homemade ice cream that rivals anything from the store.
FAQ: Common Questions About Ninja Creami Powdery Ice Cream
1. Why is my Ninja Creami ice cream always powdery?
Powdery ice cream is often caused by improper freezing or incorrect ingredient ratios. Ensure that your base is fully frozen and that you are using the right proportions of fats and liquids to create a smooth texture.
2. How can I make my Ninja Creami ice cream less icy?
To make your ice cream less icy, increase the fat content by using full-fat cream or whole milk. You can also add cornstarch or gelatin to prevent ice crystals from forming.
3. Can I fix powdery Ninja Creami ice cream after processing?
Yes! If your ice cream is powdery after processing, you can stir it gently to break up the ice crystals and improve the texture. Alternatively, run it through another cycle to achieve a smoother result.
Bonus: Delicious Ninja Creami Recipes to Try
Vanilla Ice Cream
Ingredients:
- 1 cup heavy cream
- 1 cup whole milk
- ¾ cup sugar
- 1 tsp vanilla extract
Instructions:
- Combine all ingredients in a bowl and whisk until the sugar is dissolved.
- Freeze the mixture for 24 hours.
- Process in your Ninja Creami using the “Ice Cream” setting.
Chocolate Fudge Swirl Ice Cream
Ingredients:
- 1 cup heavy cream
- 1 cup whole milk
- ¾ cup sugar
- 1/3 cup cocoa powder
- 2 tbsp chocolate fudge sauce
Instructions:
- Combine the cream, milk, sugar, and cocoa powder in a bowl and whisk until smooth.
- Freeze for 24 hours.
- Add a swirl of chocolate fudge sauce and process using the “Ice Cream” setting.
Now that you have all the tools you need to perfect your Ninja Creami experience, go ahead and create your next delicious batch of ice cream. Happy freezing!


